|
6/25/2020 0 Comments Success!?So far the pepper concoction seems to be working in keeping the bunnies away from the plants. Though it doesn't mean they still aren't visiting. I was about to go out and water and saw this little guy just lounging in the dirt. Hey if he wants to enjoy the garden I'm okay with that as long as he doesn't eat my plants! 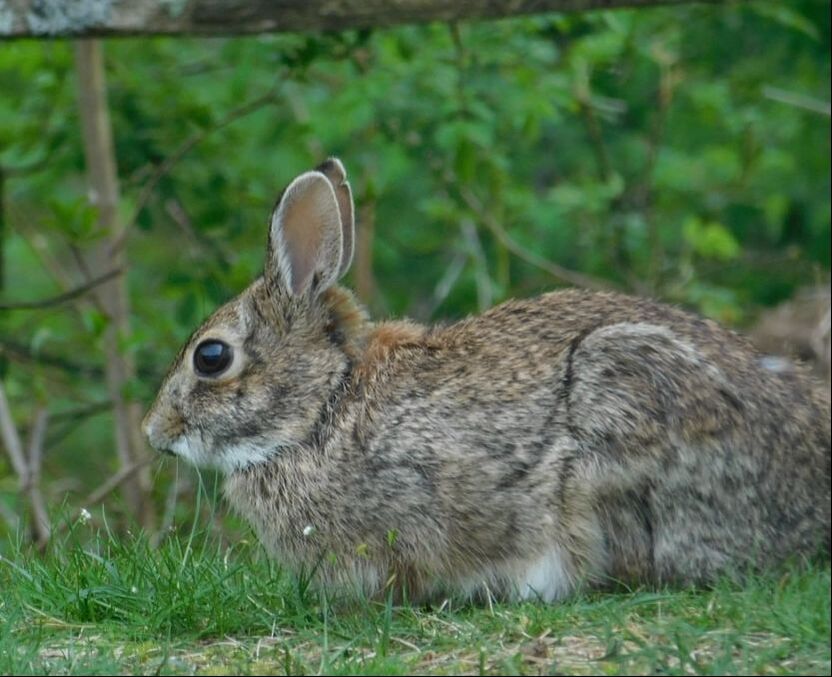 I know this position looks funny, but this rabbit is really okay. A few minutes after this picture was take he got up and hopped away wit no problems. I think he was just trying to get cool.
0 Comments
6/19/2020 0 Comments Beating the Heat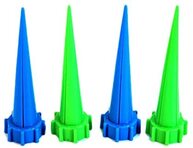 You must be wondering: how we're keeping the garden alive. With limited hours there isn't someone at the library to water the plants everyday. Well It's a little gadget that Miss Renee found last year and uses in her container gardens: a water spike. She figured if it can be used in a container, why not place it next to each plant in a regular garden. All you do is attach it to a 1 or 2 liter bottle and it slowly drips water to the plant. 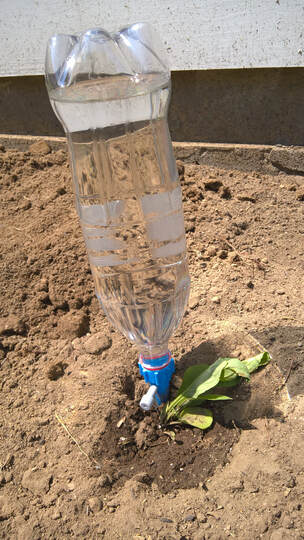 As you can see it works fairly well (or it will with a little time - this picture was taken just after the spike was added and before the plant recovered from the heat). Miss Renee recommends that you water the plant thoroughly before adding the water spike. If you don't the plant sucks all the water out of the bottle. This way the plant has water even on the days there isn't someone to water.
Each plant in the garden will have one of these to help beat the heat. Isn't recycling great! Don't forget - you still have to water your plants and check that each bottle still has water, but it's a nice backup in case you forget to water one day or are away for the weekend. 6/19/2020 0 Comments Bunnies part 2Okay so after a bit of research I've learned a few things about keeping bunnies away from your garden.
1. You can plant bunny resistant plants, bunnies don't like them and thus don't eat them. That has been done, which is one reason the columbine and the daisy haven't been eaten. But we'd like a bit more variety in the garden so while this is helpful it doesn't fully solve the problem. 2. Add a fence. This is a possibility but the down side is the fence has to be two feet high so the bunnies don't jump over it and it has to be dug at least 1 foot down into the ground so the bunnies don't dig underneath it. This is a possibility, but not something I can install myself. 3. Purchase a rodent resistant spray. They are out there and there are quite a few brands. According to the reviews some of them work and some don't. This isn't something I want to use because it's spraying chemicals onto the plants and surrounding soil which goes against everything in creating a pollinator garden. Though as a last resort I suppose this could be used until the plants mature and are of a size where bunny munching wouldn't be a problem. 4. Make your own bunny spray. This was interesting! It is a combination of chili powder, cayne pepper and garlic powder mixed with water and a touch of biodegradable dish soap, which is sprayed onto your plants or poured around the plants. The idea is that the bunnies don't like the smell and will stay away from the plants. Of course I'm not sure how the pollinators will feel about it either. So it was decided to go with option 4: this week we poured the concoction around the plants (as it just clogged the sprayer we were using). This weekend will be the test as to whether we have beaten the bunny. Keep your fingers crossed. 6/12/2020 0 Comments Bunnies!?!?!?! Awww he's cute and fluffy! NO NO NO NO NO! He's a menace and a pain in the behind!
How could that be? Well that cute little bunny ATE, yes that's right, ATE all the milkweed and black eyed susan's that were planted. I can't believe I forgot about these little critters. I'm now going to have to buy new plants and bunny proof the new garden! More to come on how I hopefully thwart my nemesis..... 6/9/2020 0 Comments Bring on the PlantsSo this is what we planted: 1 - Shenandoah Grass, 1- Prairie Blues Bluestem Grass, 3 - Black-eyed Susans, 1 - Honeysuckle Bush, 2 - Echinacea (one white, one wild berry (pink)), 1- Shasta Daisy, 3 - Wild Columbine, 3 - Milkweed. All these plants are pollinator friendly whether it's bees, birds or butterflies, and most of them are native species.
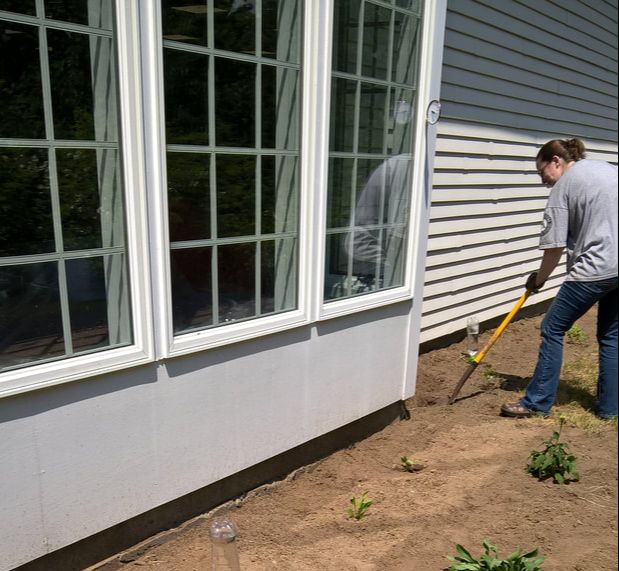
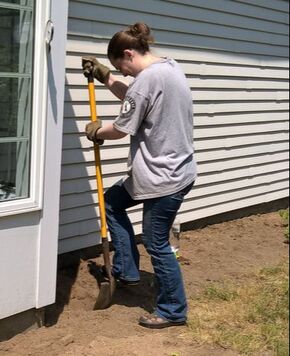
When planting plants it is very important to follow the directions on where to plant. It is also very important to dig slowly and carefully and of course to call dig safe (especially if you're planting something big).Digging your holes to the right size is very important, you don't want the holes too shallow or too deep. Also remember to feed and water your plant at the time of planting. As the soil in the back here was very dry, we put water into the bottom of the holes to encourage root growth, but do this with care. The honeysuckle bush doesn't like sitting in standing water, so we put very little in that hole. And all the plants got some plant food to encourage growth. (If you're wondering we used Osmocote - because it's time release and Miss Renee is familiar with that brand of fertilizer). Also make sure after planting to give a good dose of water to help your plants settle in. Try to water only around the roots of the plant so that you don't waste water. You don't want evaporation (if you water the leaves) or run off (if you water all the ground around the plant). Once their in you've just go to keep an eye on them and keep them watered. 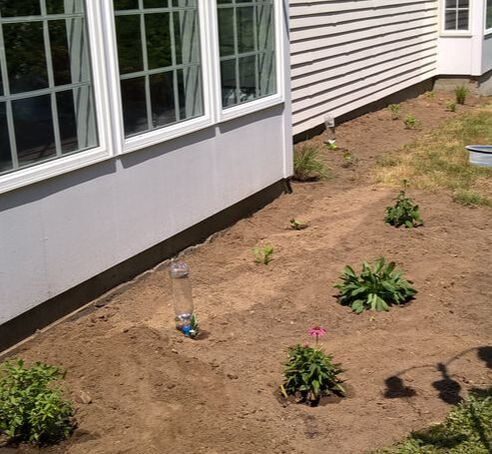 6/2/2020 0 Comments Grass Removal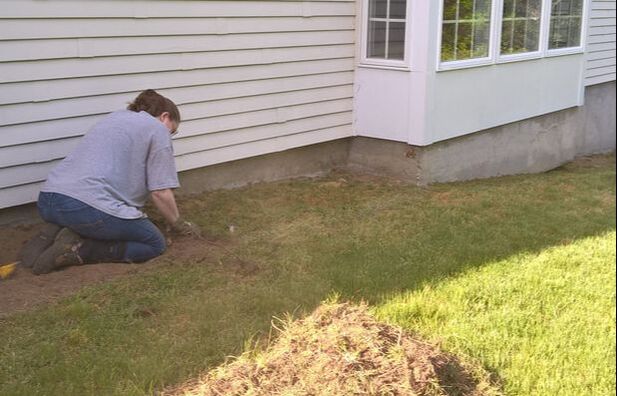 Miss Renee pulling up sections of grass. Grass removal is tedious, hot and definitely boring work when you're doing it by yourself and by hand. But on the upside, since most of the grass isn't really grass it came up much quicker than expected. Thank you shallow root weeds! Of course when you pull up grass by hand you start to think that you should have made the garden much smaller, but then you think about all the plants you ordered and wonder if its going to be big enough. Such a wonderful paradox.
I highly recommend not doing this in the heat - either do this in the early spring or fall, but if you must definitely do this on cool days or in the evening. Heat is your biggest enemy for this type of work. And plan on being sore, especially if you do your grass removal by hand. So if you have access to a working tiller definitely use one of these. You'll still have to do some grass and root removal, but at least the hard part of pulling it up will be done for you. You must be asking yourself why we did this part by hand if we could have done it with a tiller - well let's just say that luck wasn't in our favor when it came to machinery. Oh the other thing to count on is is getting absolutely filthy! I'm pretty sure Miss Renee went home covered in more dust and dirt than most little kids do after playing in a sandbox! 5/22/2020 0 Comments Creating the Back GardenAs the side garden is the easier of the two gardens, we decided to start with the one at the back of the library. Since this garden doesn't exist yet it seemed the best place to start. Step 1 was figuring out exactly where the garden was going to be, how large it should be and when we were going to start. There were debates about the size: Miss Renee wanted the garden to be big, Miss Sue wanted it to be small, so a compromise was made. Which turned out to be the best as the Coronavirus Pandemic put a bit of kink in the project. The virus and its after effects made it impossible to make the installation of the gardens a family project (hence it became a blog), so it was going to be a small team to work on its beginning. So while the garden got a bit of a later start than expected at least it was going to happen. Step 2 of course, now that we knew the approximate size was to lay it out. A little lawn paint was a great help. Of course the layout required the moving of the bird feeders which lead to some rather grumpy birds, but I'm sure they'll understand once things are finished. 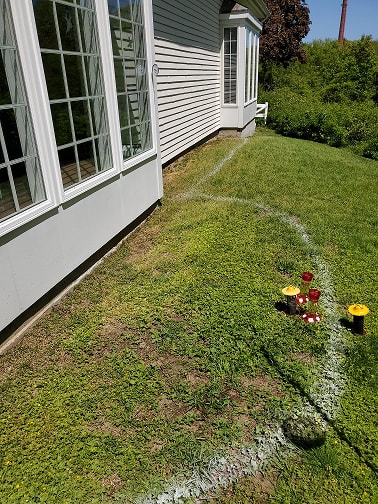 So as you can see, the goal is to create a circular garden in front of the birding window and a garden down the side of the building to the other window. This way the garden can be seen from both windows and still leave plenty of space for people to walk behind the library and space to observe the garden. Next comes the hard part - the removal of the grass, or at least what looks like grass.
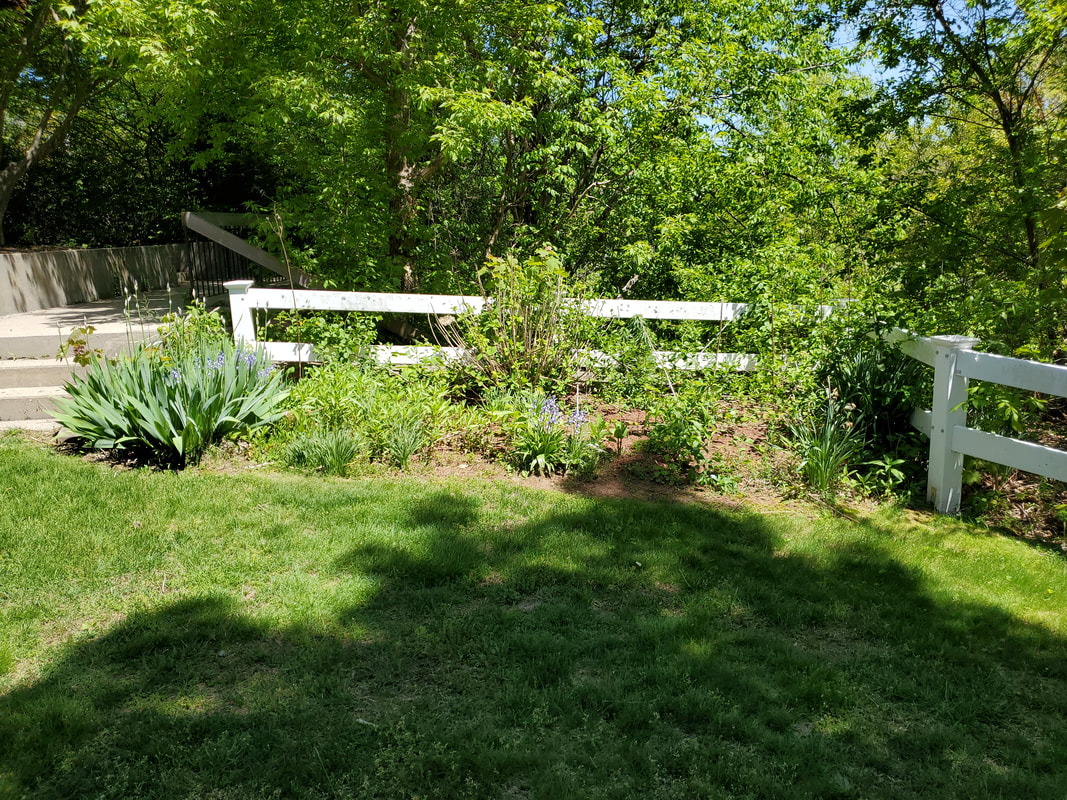
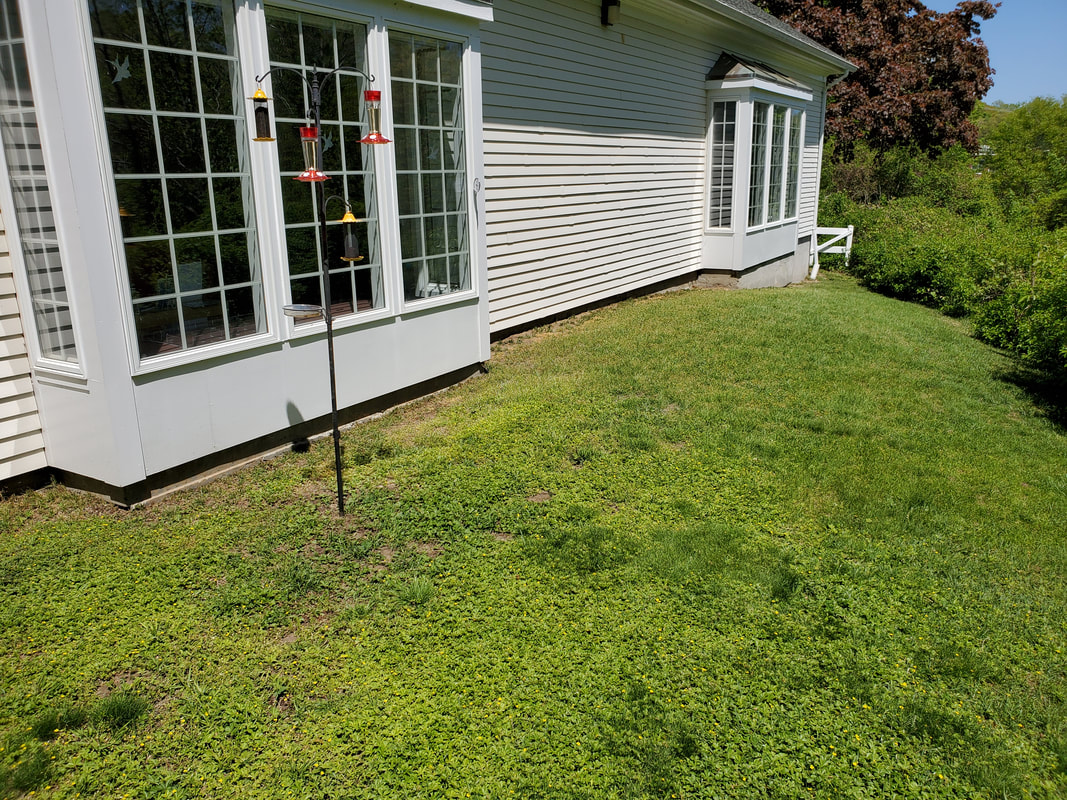
5/20/2020 0 Comments The BeforeI always find that after you change something you always wish you could see what it looked like before. Usually you forget to take the before picture, we've done it so many times at the library but not this time. Here are what the gardens looked like before any work began.
As you can see one looks a bit unruly (the side yard garden) and the other (so to be back garden) is well, just grass.
3/11/2020 0 Comments WelcomeWelcome to the Greening North Smithfield Library's blog. Here we will share experiences at programs, stories of working in the garden and reactions/comments and stories of patron experiences and thoughts. This project is designed to increase the amount of time children spend outdoors reconnecting with nature. Its purpose is to encourage the exploration of environmental literacy through stories, hands-on learning, observation and make real world connections between books and the outdoors. It is design for kids and their families to learn and express their creativity. We hope that you and your family will immerse yourself in this experience. We want to get you outside and explore!
We'd also like to thank the RI Office of Library and Information Services and the Institute of Museum and Library Services. It is through the Summer Learning Grant (offered and funded by respectively) that this project was made possible. Hope to see you all at the library soon! |